Add a New Document to a Document Set
DesignStream Interface + WWW Publishing
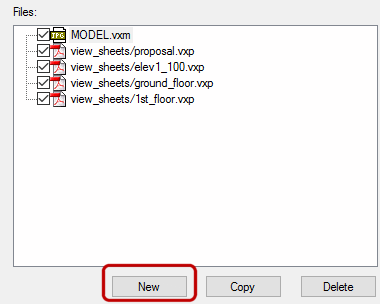
The Files list in the Publisher dialog box shows all documents belonging to the document set. A document set can contain several documents, of which you can select the documents to be published.
- Select a document set from the Set name list.

- Click the New button below the Files list.
The Add File dialog box opens.

- Select File.
- Select a single file by clicking Browse.
- Select several files at once by using the wildcard character * in the file name. First, select one file with the Browse button, and then edit the file name in the File field. For example, you can select all exterior wall panels by typing PANEL.U*.vxp or se/SE_U*.vxp (depending on the naming conventions and saving location of panel drawing files) in the File field. Each file will be individually published into the selected file format.
- Select File Type. If the selected file is a Vertex 2D drawing or 3D
model, you can select the file type to be one of the following, in addition to the original
file format:
- Jpeg-image, Png-image or TIFF-image
- PDF-file
- DWG or DXF-drawing
- Swf-file
The program will convert a drawing or a model file into the selected file format. The conversion is affected by properties which you can select in the Properties list.
If the selected file is something other than a Vertex 2D drawing or 3D model, you must always select Original file format as the file format.
- Confirm by clicking OK.
- Edit the document properties.
 Note
Note
- The same file can be present in a document set as several different documents, all of which have different properties. You can, for example, publish several image files with different resolutions of the same drawing file. When you have added a file for the first time, you can copy it with the Copy button and define new properties for it.
