Part Number Data
Define the data of a part number added to a projection of a drawing generated from a model, including initial number, number increment, and the adding method of the part number. Define the part number data in the dialog box.
Dialog Box Options
- Part Number
- Defines the starting number. The drawing has a consecutive numbering, beginning from the starting number. The next number is determined by the increment set for the part number.
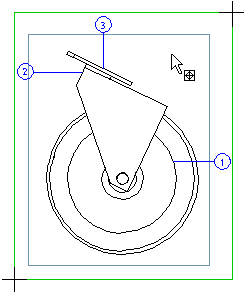
- No element marking
- Parts and assemblies are marked by default when part numbers are added for the purpose of clarity so that the user knows where to click for the starting point of the part number. The marking is performed if you use the Number function to add part numbers.
- Automatically
- Begin automatic part numbering in the projection of a model drawing by clicking the button. You can also use this function to add part numbers missing from the drawing.
- Number
- Start the part numbering in the model drawing by clicking the button. The parts are then displayed in a table. Fill in part numbers in the empty fields. After accepting the table, click the positions for the part numbers in the drawing.


 Sometimes the marking of parts and assemblies can take an unreasonably long time, and adding the part numbers without marking would be desirable. In this case, select
