
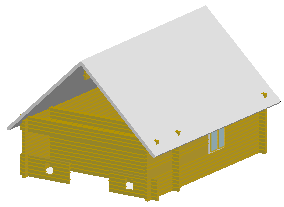
Example: Set a Roof on Top of Log Walls and a Log Beam
In this example, a roof is added to a log house by setting it on top of the side walls and the ridge beam.
Add an Eave Line
- If the model window is active, activate the floor plan by pressing F2.
- Select Modeling | Floor, Roof |
 Roof >
  Eave Line.
 - Select the roof overhang. Click 600 in the auxiliary menu.
- Select the exterior surface line of each wall in turn with the cursor.
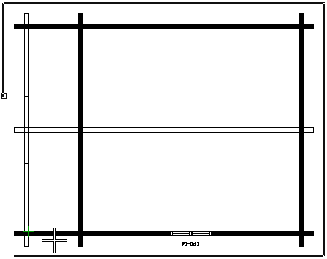
- Select Confirm. The program will add the eaves line.
Add a Roof
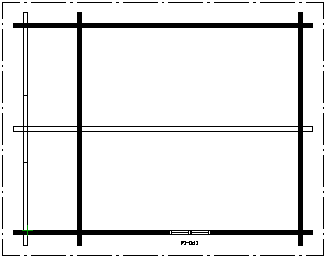
- Select Modeling | Floor, Roof | Roof > Gable. A drawing window opens, displaying the order in which the corner points of the roof should be selected.
- Select three corner points in the order depicted in the picture.

The Roof Parameters dialog box opens.
- Select the roof parameters. Make the following selections in the dialog box:
- Select the Rafters radio button.
- Select the roof material, for example felt roofing.
- Leave the value in the Pitch field unchanged.
- Type 97 as the fascia height.
- Type 97 as the rafter height.
- Select Perpendicular as the eaves type.
- Make sure that the eaves width is 600, in accordance with your earlier selection.
- Type 0 in the Seat cut field.
- Click the Set roof on walls button. You will be prompted: From which window do you want to select the wall? Select 3D:
- Select either of the side walls.
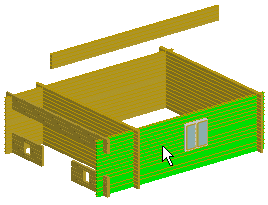
- Select the ridge beam.
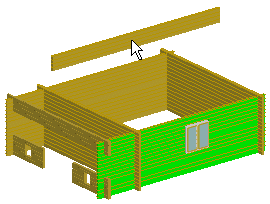
- The Roof Parameters dialog box reopens. Note that the values of the Pitch, Plate height and Eaves height fields have been updated. Click OK to close the dialog box. The program will set the roof on top of the side walls and ridge beam.
- Exit the function by pressing Esc.