Hatch Dialog Box (2D)
Select the properties of the hatch in the dialog box, when you add the hatch or edit the hatch.
The editable properties depends on the selected elements. If the selected elements have different properties each other, the field is cleared. If you leave the field empty, the elements keep their different properties. If you select a new property in the field, it will affect to all selected elements.
The Dialog box options
- Type
- Defines the hatch type. Select the hatch type on the list.
- Layer
- The default is layer 8 Hatch. If you want to set the hatch to
different layer, select another layer in the menu field.
 Layer
Layer - Color
- To a hatch you can select the color as the Pen color, or freely any other RGB color by pressing the RGB color button.
- Line Width
- Select an appropriate value in the menu field.
 Select the Line Width
 - Scale
- Defines the scale of the hatch. Select the scale from the list, or enter the value.
- Angle
- Determines the angle in which the hatch is drawn. Select the angle in the list, or enter the value.
- Origin
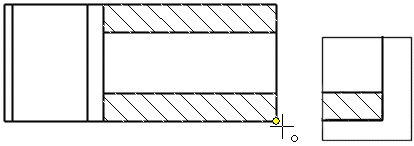
- Click the zero point to the hatch, where the hatch begins.
- Copy
- Click the button and you can select the hatch in the drawing, and have its properties copied to the hatch you have selected to edit.
- Edge - Change the Edge Line
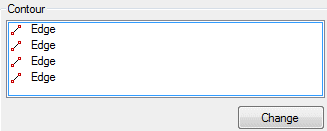
- When you select the hatch properties to edit, you will see the list of the edge lines which have been been selected when adding the hatch.
- Holes – Hole Edge Line
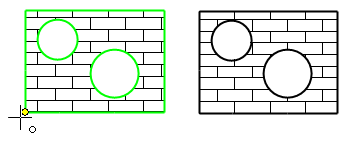
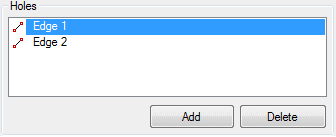
- If you select the hatch to edit, in which is holes, you will see in the list the edge lines of the holes, which has been selected when adding the hatch. If in the Hole line appears a number, it indicates the number of the hole lines is in the hatch, as well as the total number of hole lines.


