Framing Tools: Sheathing Methods in Library (floor and ceilings)
Framer
The tools for the sheathing layer (SHEET, SHEATHING) of a floor or roof, or a floor or roof panel has been defined in the common sheathing methods library. Use the arrow keys to move from one row to another in the database view. The parameters define the sheet sizes, sheathing direction, alignment, etc. The following sheathing tools are included in the basic software delivery:
- Continuous (CONTINUOUS) - A continuous sheathing style to minimize material waste. The sheathing seams are placed so that the left over parts are utilized in accordance with the spacing of the framing. Parameter Overlap = Spacing.
- Staggered (OVERLAP) - This option makes the sheet seams overlap. Parameter Overlap = Half.
- Grid (GRID) - The sheets are positioned in the sheathing area so that their seams are continuous. Parameter Overlap = None.
Sheathing Rules
- Name, Description
- Name and description of the tool.
- Form
- The form file defines the parameters which will be shown to the user when editing the framing tool.
- Overlap
- The overlap is set according to the selected tool. If necessary, you can change the overlap.
- Sheet code
- Select a sheet from the list. The sheathing library may contain several sheets with the same material code but a different size (width x height).
- Gap
- Determine the gap for the seams of the sheathing. Select either of the following:
- Punch
- The parameters can be used to set connection details for mounting boxes and HVAC punches.
- Rotate
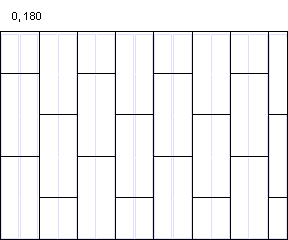
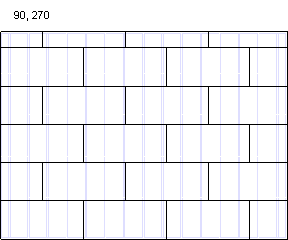
- Select the sheathing angle in relation to the frame layer framing from the list. For example, select the tool Staggered:
- Align
- Select where to start sheathing in the X axis direction. For example, tool Staggered, Angle = 0, Layout direction = From bottom to top.
- Layout direction
- Select where to start sheathing in the Y axis direction. For example, tool Staggered, Angle = 0, Align = Left.
- Shape
- Defines if the sheets are added free shaped, with full length or with half length.
- Description
- Can be used for adding labels for CLT sheets.

 Sheathing


