Set the Model View to Match the Background Image
Rendering
If you use a photograph as the background image of the model, set the model view to match the horizon line of the photograph. For example, in the background images stored in the Scaled image backgrounds folder of the background library, the horizon is positioned so that ground area covers 1/3 of the image and the sky area 2/3.
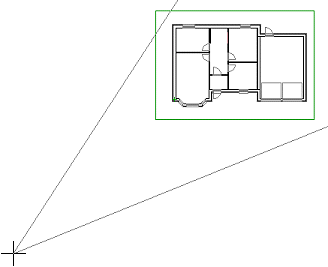
You can set a model view by defining the location of the view point and viewing direction in the floor plan. The view is a perspective projection.
- Activate a drawing window.
- Select View | 3D View |
 View 3D.
 - Select the location of the view point. Click a point far enough from the model to create a natural perspective view.

- Select a viewing angle smaller than the default (75°) by clicking the ANGLE button. Enter, for example, 35° as the value.
- Click the viewing direction.
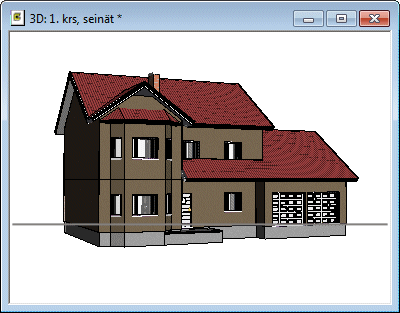
The model window will activate and the model will be set in the defined view.
Rotate and pan the model in the window until the view is suitable and the building is set on the imaginary horizon line.

Set a photo as the model's background as follows:
- Select Rendering | Environment |
 Background. The browser is opened.
 - Select a folder. For example, select the software supplier's folder Scaled image backgrounds in the Vertex Library.
- Do either of the following:
- Double-click the thumbnail.
- Click the thumbnail with the right mouse button and select Select.
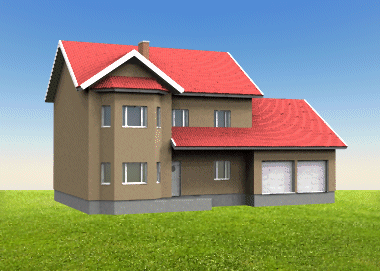
Render the model by pressing Shift+P.

- You can save the view so that the viewing direction (angles), zoom, perspective and model section mode on planes parallel to the coordinate axes are saved. You can save the view as model-specific or applicable to all models. See Other View.
- You can create shadows on the ground by using the rendering material SHADOW CATCHER, see Shadows Cast on the Ground.
- You can add a photo of the type "backfoto" as the background. In this case you can position the model in the background photo by clicking pairs of points, see Position a Model on a Background Photo.
