
Add a Cylinder
Point clouds
You can create cylinder surfaces using points in a point cloud. Examples of cylindrical surfaces include pipes, ducts, and tanks. After identifying the cross section of the cylinder, you can click the start and end points of the cylinder. A plane sketch is automatically created from the cross-section at the indicated starting point. The distance between the indicated start and end points becomes the length of the cylinder.
- Select Point clouds | Tools |
 Add cylinder.
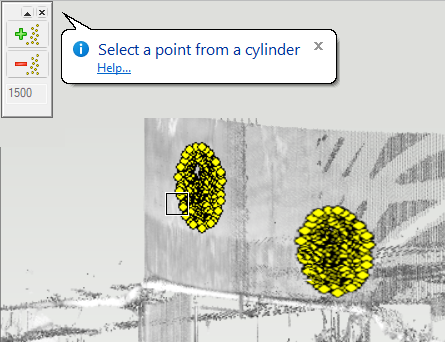
 - Move the cursor near a point whose nearby points form a cylinder. The cursor will search around the point for a set of points, which will help you to see which points will be used to create the cylinder later on. If you notice that the set of points includes scattered points that do not belong to the cylinder, move the cursor a little to achieve a better set of points.Note: You can select more than one set of points. Finish selecting set of points by selecting Confirm.
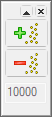
You can also increase or decrease the number of selection points searched by the program from the auxiliary menu on the left side. The active number of points to be searched is shown on lower part of the menu.
- Confirm the set of points by selecting the point under the cursor. Based on the selection points, the program infers the position, size and direction of the cross section of the cylinder.
- Click the start point of the cylinder.
- Click the end point of the cylinder.
- The program automatically creates a cylinder part Point cloud cylinder in the feature tree. The length of the cylinder is the distance between the indicated start and end points.
Note: If you want to edit, for example, the data of the extrusion or create a circular cross-section only, select a part to edit and change the extrusion data.
Note: After creating the part model, the function restarts so you can make a new cylinder.