
Add a Plane
Point clouds
You can create guide curves, planar surfaces or volumes by clicking a point that belongs to the point cloud, for example a point on a wall.
A sketch is automatically created from the detected plane, which you can edit like a normal plane sketch.
A sketch is automatically created from the detected plane, which you can edit like a normal plane sketch.
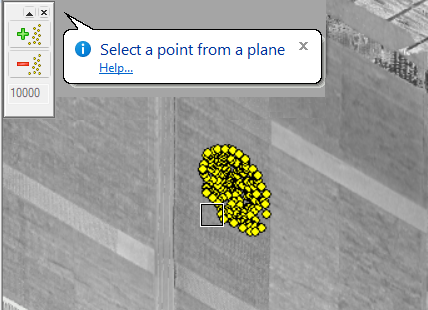
- Select Point clouds | Tools |
 Add plane.
 - Move the cursor near a point whose nearby points form a straight plane. The cursor will
search around the point for a set of points, which will help you to see which points will be
used to create the plane later on. If you notice that the set of points includes scattered
points that do not belong to the plane, move the cursor a little to achieve a better set of
points.Note: You can select more than one set of points. Finish selecting set of points by selecting Confirm.
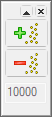
You can also increase or decrease the number of selection points searched by the program from the auxiliary menu on the left side. The active number of points to be searched is shown on lower part of the menu.
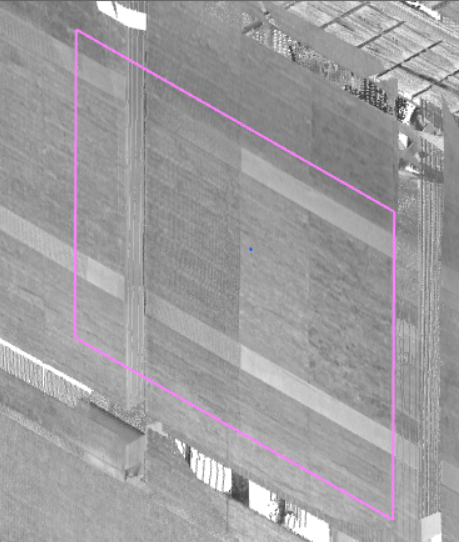
- Confirm the set of points by selecting the point under the cursor. Based on the selection points, the program determines the direction of the plane, automatically creates a plane sketch and a free-dimension rectangle for it. You can edit the sketch by dimensioning or stretching the rectangle to the desired size.
- Exit the sketch by clicking OK. You can select a guide curve, a cross section, or an extruded volume to be created, for example. The default thickness of the volume in the Value field will be 100. Change the dimension, if necessary.
- Press OK to confirm the selections and values for the extrusion.
- The program automatically adds a part to the feature tree under the name Point cloud plane.
Note: After creating the part model, the function restarts so you can make a new plane.