Create a Transparent Foreground from a Photo
Rendering
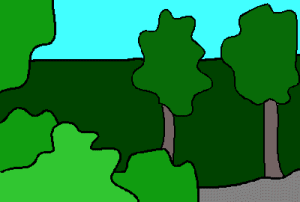
You can create a foreground from a photo by setting a part of the image as transparent. The transparent parts can be defined with a mask image file.
- Save the original photo in the folder ../shared/lw. The file type can be jpg, bmp or tif.

- Create a mask image of the photo using image processing software. Paint the opaque areas
of the image black and the transparent areas white. Save the mask file in the same folder
../shared/lw.

Create a new foreground and define its properties as follows:
- Select System |
 Rendering Textures
 Foregrounds. The
browser is opened.
 - Select My Library.
- Select the folder in which to create a new foreground, or create a new folder, if necessary.
- Right-click to open the function menu.
- Select New Folder.
- Enter a name for the new folder.
- Select the folder you have just created.
- Move the cursor to an empty area in the right browser frame (thumbnail area).
- Right-click to open the actions menu, and select New foreground.
- Define the following information for the foreground:
- Name - Type a name for the thumbnail image.
- Type - Select forefoto from the list.
- Click the property
 File name. Enter the name of the image file in quotation marks,
for example:
"imagefile.jpg"
- Click the Set button.
- Click the property
 Mask file name. Enter the name of the mask image file in
quotation marks, for example:
"maskimagefile.jpg"
- Click the Set button.
- Confirm by clicking OK.
- Add a foreground to the model by double-clicking the thumbnail.
- Find the extents of the model
- Select Rendering | Render Style |
 Rendered.
 Note
Note
- If the save location of the image file or mask image file is some other folder than
../share/lw, enter the entire path in the field in quotation marks, for example:
"D:/custom_backgrounds/photographs/imagefile.jpg"
- In addition to this, set a background for the model.
