
Adding a Text
With this function, a text is added to a model. The text to be added is typed in a text dialog box. An appropriate scale, text direction and text plane are defined for the text.
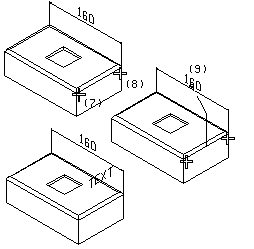
Starting and end points are selected for the text. When selecting the points, the cursor automatically searches to the nearest line point. If the search function X is used when selecting the starting and end points, the text is attached to the current volume. After selecting the points, the location of the text in the model is defined. When the location of the text is selected, it can still be changed with the Cursor keys Left and Right. The text plane can be changed by pressing Shift+Cursor key Up or Shift+Cursor key Down.
- Select Drafting |
 Text.
Text. - Type the text to be added to the model in the dialog box.
- Select an appropriate scale for the text.
- Select the text direction.
- Select the text plane, according to which the text is positioned in the model.
- Click the starting point of the text.
- Click the end point of the text.
- Click the text location.
The cursor searches to the nearest line point, when the starting and end points are selected. The location of the text is defined by placing the search point of the cursor on the reference dimension and selecting the search function X.
 Note
Note
- You can change the visibility of the text in the model window in the following way:
- Select View | View |
 Dims And
Texts.
Dims And
Texts. - Select one of the following:
- All dimensions/texts
- No dimensions/texts
- Free
- Select View | View |
- You can delete a text from a model in the following way:
- Select the text in the basic mode of the program.
- Press Delete.