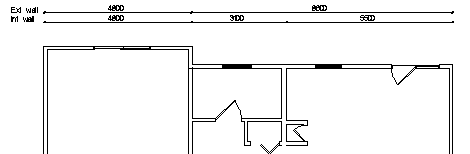
Example: Automatic Dimensioning
In this example, the exterior and interior walls of one side of a building are dimensioned.
- Select Drafting | Dimensions |
 Dimension
 Dimensioning of Floor
Plan.
Dimensioning of Floor
Plan. - Make the following selections in the Automatic dimensioning dialog box:
-
Dimension. Select Exterior walls and Interior walls, remove other selections.
-
Dimension names. Select the check box.
-
Type. Select Queue for both dimensions, remove the selection for Base point.
-
Wall line. Select Exterior for both dimensions.
-
Minimum dimensions. Use the default values.
-
- Confirm the selections by clicking OK in the database view.
- Select the walls to be dimensioned. In the picture below, two exterior walls and two
interior walls have been selected.
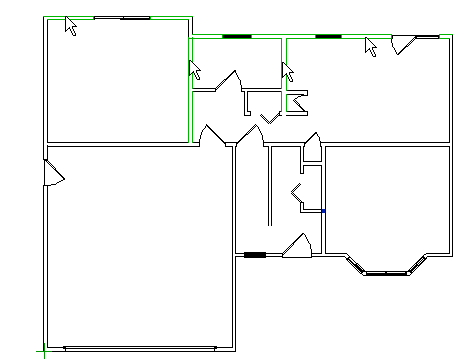
- Select Confirm.
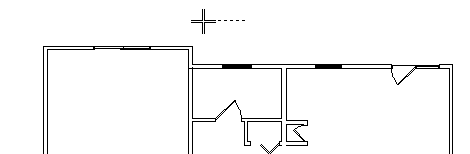
- Select the start point of the dimension.

- Select Confirm.
- Select the location of the dimensioning line.
- The program will add two dimension lines.