
Add a Shaft
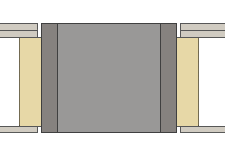
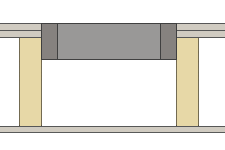
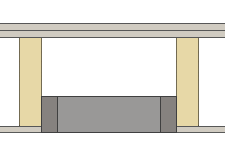
You can add a shaft of the desired size to a floor or roof panel. You can choose to punch the entire structure or just the top or bottom. The shaft affects the generation of the frame and sheathing. When you add parts to a panel, the program adds the frame parts around the shaft and cuts an opening in the sheet at the shaft. To resize a shaft, open its properties for editing.
- Activate the model window.
- Select Modeling | Connection |
 Joint > Profiles
  Connection Details. The browser is opened.
 - Select the browser folder Service Holes / Punches.
- Double-click the component (0500) Shaft.
- Select a floor or roof panel.
- If necessary, change the locating point of the component, flip the component, edit the parameters of the component, or select another auxiliary function from the menu which opens by right-clicking.
- Select a location for the component in the model.
- Regenerate the panel parts, and the program adds the frame parts around the shaft and cuts an opening in the sheet.
- Edit the parameters of the component by selecting the component in the model and
 Properties from the right-click menu.
- Width - Enter the width of the component.
- Length - Enter the length of the component.
- Punch - Select one or both:
- By default, both the Punch Up/Exterior and Punch Down/Interior options are selected, allowing the component to punch the entire structure. An opening is cut in the sheets above and below the frame layer. The opening is 10 mm larger than the component at all edges.
- Punch Up/Exterior
- Punch Down/Interior
- By default, both the Punch Up/Exterior and Punch Down/Interior options are selected, allowing the component to punch the entire structure. An opening is cut in the sheets above and below the frame layer. The opening is 10 mm larger than the component at all edges.
Note:
- The default parameter values for the component included in the standard software delivery are defined in the component library System Libraries / Joint Details / Servicehole Lines.