
Adding an Annotation View
General
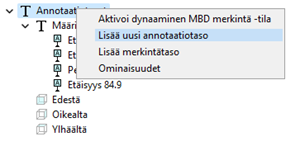
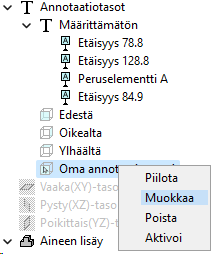
- Annotation views can be created, edited, and deleted via the tree.
Self-created annotation views
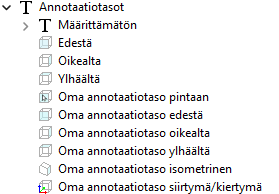
Self-created annotation views appear in the creation order in the tree after the standard annotation views.
You can enter a desired name for your annotation view, and its icon will be generated based on the viewing direction selected in the creation dialog box.
Viewing direction
When creating an annotation view, you have the option to choose the location of the view either based on the surface, using the standard options, or by entering values for the view's translation and rotation.

- Surface selected from model
- When the user clicks on a surface in the model, this option is automatically enabled.
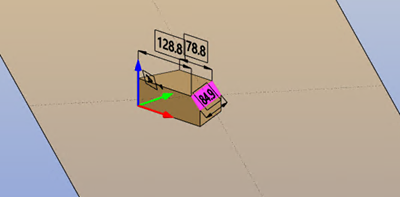
- The selected surface is marked in the model.
- The annotation view takes the translation and rotation values from the plane.
- When edit an annotation view, the position of the view is updated if the location of the selected surface in the model has changed.
- Front / right / top / isometric
- Standard viewing directions.
- When clicking, translation and rotation values are set to the corresponding values.
- Self inputted values
- Values can be entered directly into the translation and rotation fields.
To aid in positioning, a temporary plane is drawn in the model to help visualize the location. The plane changes position depending on the values selected in the dialog box.
When you modify an existing annotation view, the dialog box provides the same options as when you create a new annotation view. This allows you to change the name or position of the annotation view, or to set the annotation view to follow the selected surface of the model.