View the Photos Included with the E57 Point Cloud
Point clouds
Photos taken of the scanning target can be saved in the point cloud file in file format E57. You can view photos through scanning point views. You can view both the point cloud and the photos taken of the target at the same time, or just one or the other.
When you import an E57 point cloud file, you can also import the images in the file by selecting Import images in the Import Point Clouds dialog box. Imported images are saved to a vxm file when you save the model. Imported images cannot be deleted.
The program can save all types of images (pinhole, spherical, and cylindrical) with the point cloud, but only pinhole images can be used to display images on the background of the point cloud. The following requirements apply to pinhole images in order to create a 3D view (cubemap):
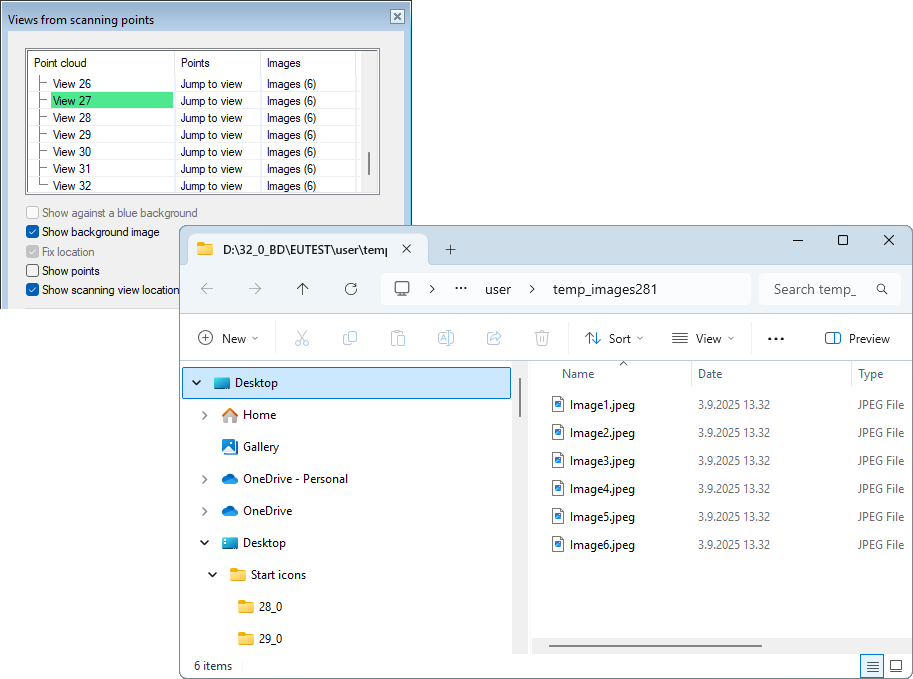
- There are six (6) images per view.
- The images are square in shape.
- There is one image for each view direction. The directions are left, forward, right, up, down, back.
- Select the function Point clouds | Tools |
 Views.
- Select Show background image. You will see a 3D view created using photos taken from that point.
- In the scanning point view, you can rotate the camera and zoom, but you cannot move (Fix location is selected).
- If you wish, you can turn off the point cloud by clearing the Show points option.
- When you click a field in the Images column, the images are opened in a temporary folder that closes when you close the dialog box.