
Common Conversion Rule
IFC Converter
Define a common rule for converting an IFC object to a Vertex BD object. The geometry of the object is not converted to Vertex geometry, but after the conversion you can handle the object by, for example, moving or copying unlike the object inside the IFC model. When you export a building model to an IFC file, the object converted by a common rule is included in the export.
After the conversion, you can eidt the properties of the converted object. You can save a converted object to a component library by first copying it to a new window, and then selecting the save function.
- Select converted object type
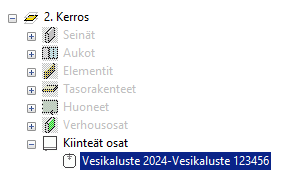
- Select the type of the converted object and, if necessary, a subtype from the list. The converted object appears in the branch of the selected type in the object tree.
- Conversion
- The converted object gets the property sets defined for the IFC object when you select the Include imported IFC property sets option.
- Edit name
- After the conversion, you can edit the name of an individual object by editing the properties. If you have selected several objects to be converted, you can make a mass change to the names during the conversion by replacing the string appearing in the names with the string you want.
- Select Enable name editing.
- Enter the string that appears in the name in the Find what field.
- Enter the string you want to replace it with in the Replace with field.