
Import a Point Cloud
-
Select the function Point clouds |
 Import. In the open dialog box, navigate to the directory where the cloud file(s) are located and select the file type you want.
 - Select the import settings in the Import Point Clouds dialog box..
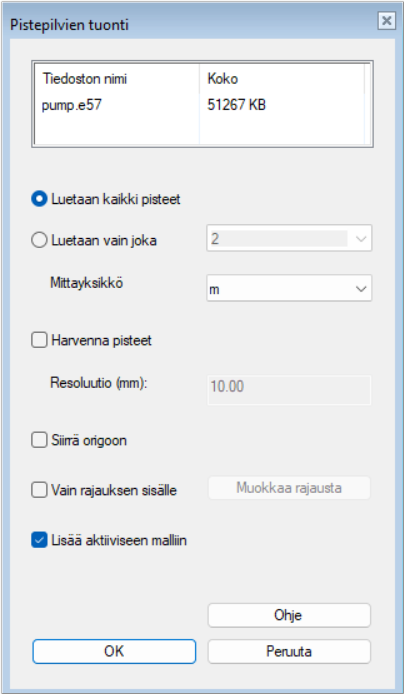
- Read all points / read only every n points
- If you want to reduce the number of points already in the reading phase, you can set Read only every n point. The higher the value, the more thinned out the result.
- Dimension unit
- The unit used in point cloud scanning. The default unit for importing to Vertex is meter.
- Thin out the points
- Upon import, the user has the option to remove overlapping or other nearby points with the desired precision. Instead of deleting every nth point, this thinning method uses a cube with one side of the length of which is the value entered as a resolution. As a result, one point of the point cloud remains inside the cube. So this is an alternative or concurrent thinning to the Read only every n point option presented earlier. If the file imported in e57 format contains individual subclouds, thinning is applied to all of them at the same time.
- Move to origin
- If selected, the points of the point cloud will be moved to the origin. In this case, the MinX, MinY, MinZ point of the original cloud is placed at the origin of the model. By default, the origin is at the scanning spot and the scanned points are at the actual position relative to it.
- Only inside limits
- If selected, the program filters out all points that are outside the 3D limits.
- Add to active model
- If selected, the point clouds selected to be imported are read directly into the active component as their own local parts.
Note: You can import several point clouds at once. Select several point cloud files in the selection dialog box by holding down the Ctrl key.