
Adding Framing Data to a Macro
Framer
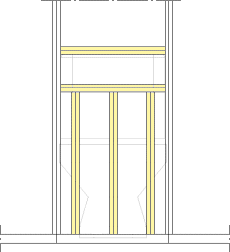
A macro, such as a toilet seat, may require additional blocking to the wall framing. You can attach information about such a blocking to a macro. The blocking pieces will be displayed in the wall panel drawing that you will later create.
- Do either of the following:
- Select a building component, right-click to open the context-sensitive menu, and
select
 Define
Framing Data when using model-based wall panels.
Define
Framing Data when using model-based wall panels. - Select Classic Wall Framing | Wall Panelizing |
 Special Framing
  Define Framing
Data when using wall panels based on a panel drawing.
Define Framing
Data when using wall panels based on a panel drawing.
- Select a building component, right-click to open the context-sensitive menu, and
select
- Select the blocking detail from a list. Following details are included in the basic
software delivery:
- WD-HORBACK - The horizontal blocking is positioned on the center of the frame.
- WD-HORBACK-INT - The horizontal blocking is positioned on the surface at the same side with the macro.
- Select the properties of the blocking in the Extra Blockings w/Macros to Wall Panels dialog box.
- Select the macro. You can select several macros with the Ctrl key pressed down, or by using area selection.
- Select Confirm.

 Note
Note
- You can edit the blocking properties by using the function Editing Framing Data of a Macro. You can remove the blocking attached to a macro by using the function Deleting Framing Data From a Macro.
- Update the wall panel drawings after the change. When you are panelizing walls using the method based on the model, update the panel drawing by opening it with the Open a Panel Drawing function. When you are panelizing walls using the method based on the panel drawings, create the panel drawing again with the function Generating Panel Drawings.