Adding a Pipe to the Pipe Database
Piping Design
Select a pipe from the assembly. Fill in the data of the new component into the database.
- On the
 tab, in the Databases group, click Components, and select Pipes.
Browse, edit and list pipe component database rows with type pipe.
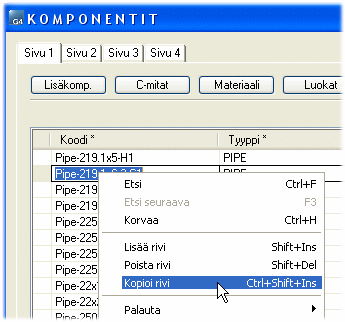
- Select either of the following context-sensitive functions:
- Add Row
- Copy Row
- Enter the pipe item's code into the Code field, for example Pipe-219.11x8.0-16Mo3.
The purpose of the code is to identify the component. The code could be an HVAC code.
- Also fill in the information on pages 2, 3 and 4. See how the data for the other items has been entered.
The measurements require precision. If you copy a database row, remember to edit the data to correspond with the new component, for example the Material field.
- If you wish to add an item to the pipe class, add the class to the Classes field either after an existing class, separated with a vertical bar ( | ),
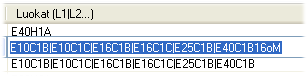
or individually.
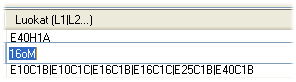
The item is added to the pipe class 16Mo.
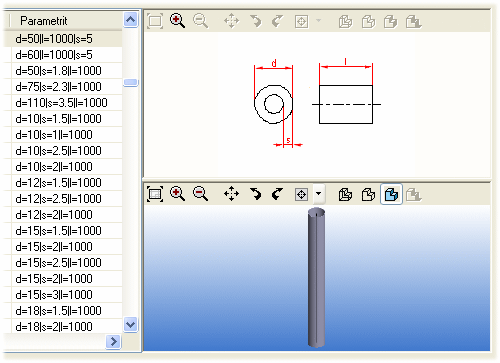
- Enter the measurement table variables to page 4.
 You can always add 1000 as the pipe length. The program readjusts the length in conjunction with routing.
 - Accept the data by clicking OK.