
Set a Texture From an Image File
Rendering
When you import a component to Vertex in a file format that does not contain textures, you can set a texture to the surfaces of the component by using an image file. You can set a texture to a component already added to the building model by first opening the model for editing. This feature requires that the Rendering add-on option is available to you.
Supported image file formats are JPEG, BMP, PNG, GIF and TIFF. You can set a texture to all surfaces of the part model, or you can select the surfaces to which the texture will be added.
For example, import a 3D DWG file to Vertex, and set a texture as follows:
- Open a part model, or select the desired parts in an assembly. You can open a part model in an assembly by double-clicking.
- Do one of the following:
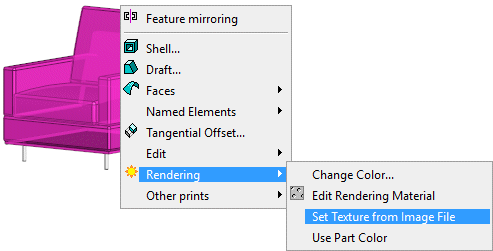
- Set the same texture to all surfaces of the part model by using the context-sensitive
menu function
 Rendering >
Set Texture From Image File.
Rendering >
Set Texture From Image File. - Select individual surfaces, and select
Rendering > Set Texture From Image File from the context-sensitive menu.
- You can add a texture to all surfaces of the part model also by importing the image file to the model window by using the drag and drop method.
- Set the same texture to all surfaces of the part model by using the context-sensitive
menu function
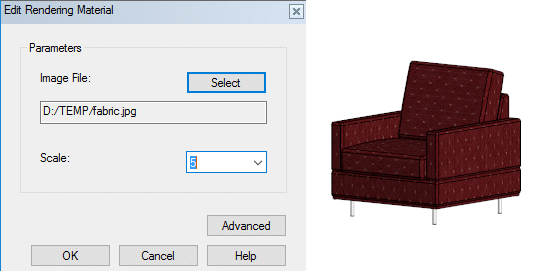
- Select the Image File and Scale in the Edit
Rendering Material dialog box.
The 3D modeler includes its own help, which you can open by selecting  > Advanced Modeler Help.