
Modeling a Joint and Adding it to the Joint Library
Architectural
When you are generating a corner or T connection between walls, you can select the joint from the joint library if the advanced function DET ON is selected.

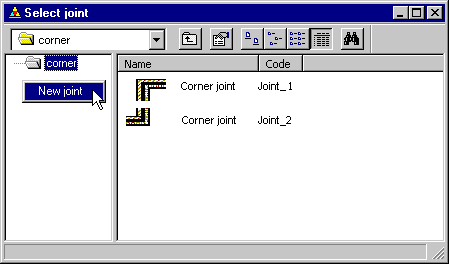
When you have selected the walls to be joined, the Vertex Browser opens and you can select the joint from the joint library. If no library joint is available for the wall types in question, the browser is empty. You can add a joint to the library by clicking the right mouse button in the left-hand frame and selecting New joint.
The basic joint of the walls to be trimmed is opened for editing in a new 2D drawing window. You can trim the lines depicting layers as follows:
- Select a line to be stretched or cut.
- Select the line to which the trimming is to be performed.
The program will highlight the edited lines with red color, for example:
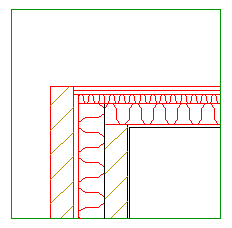
The green drawing borders in the drawing window surround the area from which a thumbnail for the joint will be created for browser selection.
Confirm the edited joint by selecting the Confirm function. The program will then suggest archiving the joint in the joint library. Type a code and description for the joint in the text windows that open.
The selected joint will be created between the selected walls. After this, the joint in question can be created between walls of the same type, which have been selected in the same order, by selecting it from the joint library.
Creating a new corner type:
- Select the advanced function DET ON.
- Select the end of the first wall that is closest to the joint.
- Select the end of the second wall that is closest to the joint.
- Click the right mouse button in the left-hand frame of the Vertex Browser.
- Select New joint.
- Model the joint by trimming the lines.
- Select Confirm.
- Confirm archiving the joint by selecting Yes in the message box.
- Type a code for the joint.
- Type a description for the joint.
Creating a new T connection type:
- Select the advanced function DET ON.
- Select the target wall to which the other wall will be joined.
- Select the end of the wall to be joined.
- Continue as above.