Selecting Available Walls
You can enable or disable a wall in a wall library as follows:
- Select System | Libraries |
 Walls. The Wall
dialog box opens.
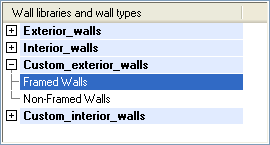
 - Select a library and classification from the Wall Libraries and Wall Types list. You can
only edit the library data of walls in customer-specific wall libraries.

- Select the thumbnail image of a wall.
- Right-click to open the context-sensitive menu.
- Select Properties.
- Do either of the following:
- Tick the Active checkbox. The wall structure is now available, and users can add the wall in the Wall dialog box.
- Clear the Active checkbox. The wall structure is now disabled and will be unavailable. The wall remains in the wall library, and you can re-enable the wall later.
- Confirm by clicking OK.
