
Copy an Existing Material and Edit Its Shading Properties
Rendering
You can create a new material in the My Library folder of the browser by copying an old material and editing its properties.
- Select System |
 Rendering Textures. The browser is opened.
 - Open the Vertex Library folder from which you want to copy the old material.
- Click the material with the left mouse button.
- Right-click to open the function menu, and select Copy.
- Select My Library.
- Select a folder in which to paste the material, or create a new folder, if necessary.
- Right-click to open the function menu.
- Select New Folder.
- Enter a name for the new folder.
- Select the folder you have just created.
- Right-click to open the actions menu, and select Paste.
- Name the new material. The name must be different from the material in the system folder. Once you have named the material, an image of the material and its name are displayed in the browser.
- Click the material with the left mouse button.
- Right-click to open the function menu, and select Edit.
- Edit the shading properties of the material in a dialog box.
- Confirm by clicking OK.
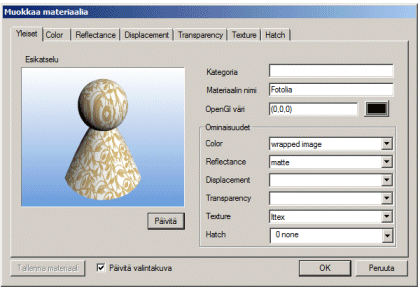
You can create a wallpaper material according to the example figure as follows:
- On the General tab, in the Properties box, select the following:
- Color wrapped image
- Reflectance matte
- Texture lttex
- Select the Text tab in the dialog box.
- Click the file name parameter and then the Browse button.
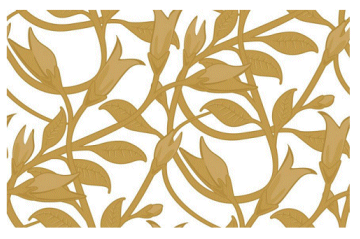
- Browse in the Open dialog box of the operating system the image file that is used as a basis for the material.
For example, "D:/training/Fotolia1.jpg"
- Click the Apply button.
- Update the preview image by clicking the Preview button.
- Select the tab Reflectance in the dialog box.
- select value 1 as the value of the ambient parameter of the Matte reflectance.
- Click the Apply button.
- Select the Texture tab in the dialog box. Select the dimensions of the area covered by the wallpaper piece illustrated in the image file in the 3D model.
- Set the desired scale as the kx parameter value, for example 300 mm.
- Set the desired scale as the ky parameter value, for example 200 mm.
- Select the Autoaxis parameter value to 1.
- Refresh the preview image and select also
 Update selection picture.
 - Confirm by clicking OK.
The material is now finished and can be used on the selected face. You can select the photograph background and use it in any model by double-clicking the thumbnail in the browser.
Note:
- System tab is only available if you are a system administrator.
- The default folder in the browser has been defined with the keyword lw_mtrl_folder in the system settings.