
Edit a View Area in a Template Drawing
Framer
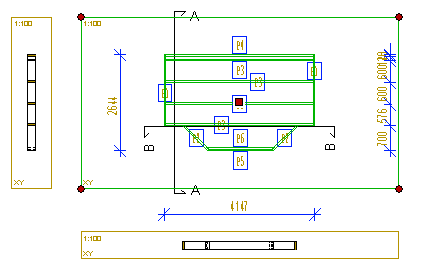
You can edit the size of the view area in a template drawing by moving its corner points by the grip points. If necessary, select a new scale for the view by editing the view properties. The section views will follow the main view when they have the property Align to Main View.
- Select System | Templates |
 Panel Drawings
 Panel Template
Drawings. The Panel Template Drawings dialog box opens.
Panel Template
Drawings. The Panel Template Drawings dialog box opens. - Select a library and a classification in the list box. You can only edit the library data of template drawings in customer-specific wall libraries.
- Select the thumbnail image of a template drawing.
- Click the Open button.
- Select the reference panel to be shown in the template drawing.
- Click OK to close the Panel Template Drawings dialog box.
- Edit the view area.
- You can edit the size of the view area in a template drawing by moving its corner points by the grip points.
- You can move the view from the middle grip point or with the context-sensitive menu function Move.
- You can delete a view by selecting the view area and pressing the Delete key.
- You can select the property Align to Main View for the section view. When the checkbox is selected and you move the main view in the panel drawing, the section view will follow the main view. By default, the property is selected for section views.
- Close the template drawing and save the changes.
 Note
Note
- System tab is only available if you are a system administrator.