
Edit the Wall Panel Settings Saved in the Library
Framer
You can only edit customer-specific libraries in the custom/complibs/ folder, or the project-specific settings of an open project. You can create a new library as well as edit, add and delete settings.
If a project is open with project-specific settings saved to its own library, this library is also presented in the dialog box. You can recognize a project-specific library from the [P] symbol.

- Select System | Structural Libraries |
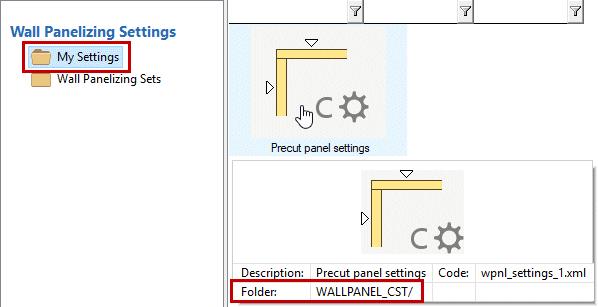
 Wall Panel Settings. The browser is opened.
 - Do one of the following:
- Create New Library
- Activate the folder structure in the left side, right-click and select New Library.
- Enter a name for the library in the text box.
The first customer-specific library is saved in the ../custom/complibs/wall panel_cst folder on the disk. After this, the libraries will be named wall panel_cst_1, wall panel_cst_2, etc.
- Copy Settings From One Library to Another
- Select the library, from which you want to copy the settings. You can copy the settings also from the system library. You can recognize a project-specific library from the [P] symbol.
- Select the settings.
- Right-click and select Copy.
- Select the library, to which you want to paste the settings. If the library from which you copied the settings is a customer-specific library, you can paste the settings in the same library.
- Right-click and select Paste.
- Enter a name for the settings in the text box.
- Edit the Settings
- Select a library. You can only edit settings in a customer-specific library.
- Select the settings.
- Right-click and select Edit. The Wall Panel Settings dialog box opens.
- Edit the settings, and click OK.
- Create a New Collection of Settings
- Select a library. You can only edit settings in a customer-specific library.
- Right-click and select New.
- Enter a name for the settings in the text box. The Wall Panel Settings dialog box opens.
- Edit the settings, and click OK.
- Rename Settings
- Select a library. You can only edit settings in a customer-specific library.
- Select the settings.
- Right-click and select Rename.
- Enter a name for the settings in the text box.
- Delete Settings
- Select a library. You can only edit settings in a customer-specific library.
- Select the settings.
- Right-click and select Delete.
- Create New Library
- Confirm by clicking OK.

Note: You cannot edit the settings of the library included in the basic software delivery, but you can view the settings in the library interface by double-clicking the thumbnail of the settings.
Note: System tab is only available if you are a system administrator.