
Move Faces
Advanced Face Modeling Package
- On the
 tab, in the
  Faces group, click
  Move Faces.
 - Select one or more surfaces.
- Select Confirm.
- Define the Remove Faces Data in the dialog box.
- Click OK.
In Context-sensitive Menu
You can move faces in such a way that the adjacent faces continue in a natural manner and no new faces are created.
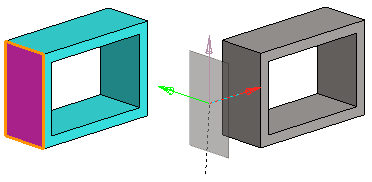
- Select one or more faces in a part model.
- Select the context-sensitive function
 Faces>
  Move.
Move. If you selected more than one face, select the function for the face that you selected last.
The cursor will lock on the normal direction of the last face, in so far as the shape of the face is suitable (plane, spline).
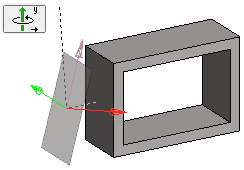
- You can release or change the lock with the keyboard functions U, I or O, or you can rotate the face to another position.
For example, rotate it around the Y axis with a specific rotation interval, five degrees. The preview will be updated to match your changes.
- You can specify the face movement in the dialog box.

- Preview by clicking the Apply button.
- Click OK.
Note:
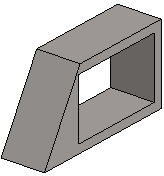
- You can also move faces in such a way that the adjacent faces continue in a natural manner and no new faces are created. The faces at the end of the toroid surface have been moved directly upwards.

- Edit a feature by selecting it from the feature tree and clicking Edit. You can add, edit and delete faces with the functions in the Move face dialog box.