
Add a Roof-to-Wall Flashing
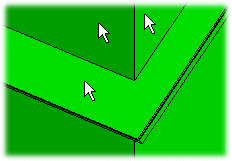
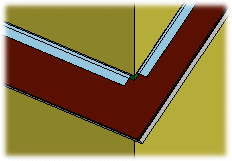
You can add flashing to the joint between the roof and the wall. The flashing may extend over several stacked walls and over several roof slopes. Before adding the flashing, change the roof representation method to detailed representation by expanding the different layers of the structure visible in the 3D model.
- Select Modeling | Accessory Component | Component gallery

 Flashing.
 - Select the walls and roof slopes between which the flashing is added.
- Select Confirm.
- Select the flashing parameters in a dialog box.
- Confirm by clicking OK.

 Note
Note
- Joints will not be automatically generated between flashings in corners. If necessary, you can create a miter joint between the flashings, see Trimming to the Intersection Points.
- The drawing properties of the flashing's geometry are defined in the system settings under the PIECE.SETUP/piece.setup ROOFACC keyword group.