Add a Siding Trim to a Wall Layer
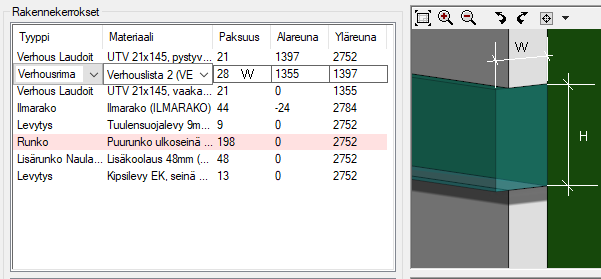
You can divide a wall layer into two parts with a siding trim, or add a trim to the top or bottom edge of the layer. When you move the edge of a layer, the siding trim is moved with the edge. The trim is presented on a separate row in the Layers list. The layer type is Wall Trim.
Note: Adding a siding trim or dividing a siding layer with a siding trim is not possible if the siding layer has been shaped in the model. The functions are not available in the context-sensitive menu of the layer in wall properties. Add the siding trim first, and only then shape the layer.
- Select the layer.
- Right-click to open the context-sensitive menu.
- Select one of the following:
- Split with Trim - Divide the layer into two parts in the vertical direction of the wall, and add a siding trim between the parts.
- Add Trim to Top Edge - Add a siding trim to the top edge of the layer.
- Add Trim to Bottom Edge - Add a siding trim to the bottom edge of the layer.
Note: You can set the default height (H) of the siding trim in the system settings with the keyword wall_trim_height (bdsx/Wall Trim Defautl Height).


