
Change the Panel Viewing Direction
Framer
The default viewing direction of a front projection in a panel drawing is from the outside of the wall. The panel labels are added to the outside of the wall in a floor plan drawing. When generating the panel breaks, you can select the viewing direction from inside the wall by selecting the Interior view checkbox in the Wall Panelizing Settings dialog box. The panel labels are added to the inside of the wall in a floor plan drawing.
After generating the panel breaks, you can change the panel viewing direction as follows:
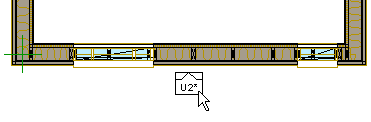
- Select the panel. In the example figure, the default viewing direction (from the outside) was used when generating the panel breaks. The panel label is on the outside of the wall.
- Select Panel | Panel |
 Update >
  Panel Properties.
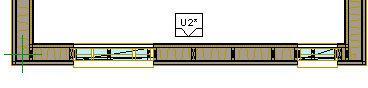
The program displays the origin point symbol in the middle of the panel:

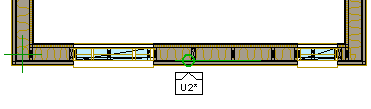
- Select the panel origin point symbol.
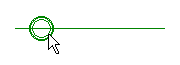
- Click the
 Flip button in the auxiliary menu.
 - Select Confirm. The symbol is located in its original spot, mirrored.
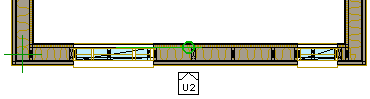
- Reselect Confirm. The change is saved on the panel and you exit the edit mode. The panel label moves to the inside of the wall.
Note: You can move the panel label by the grip point.