
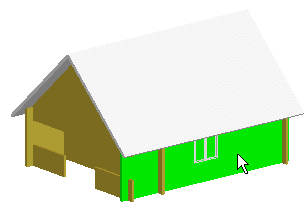
Example: Move a Window in a Log Wall
A window has been added to a log wall and the logs at the window have been cut. When the window is moved, an opening will remain in the window's earlier location. You can remove the opening by connecting the logs and removing the remaining notches. The logs must also be cut at the new location of the window opening. In this example, logs are connected and notches removed in the elevation, and then the window is moved in the floor plan of the building. You can also move the opening and re-cut the logs in the elevation or log work drawing (log drawings are included in the Log House Work Drawings add-on option).
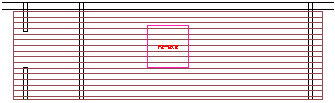
Open the Elevation of the Log Wall
- Select a log wall.
- Select Log Wall | Log Wall |
 Edit Shape. The elevation of the log wall is opened in a separate drawing window.
Merge Logs
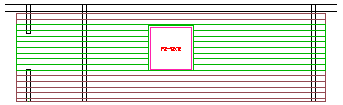
- Select the logs to be merged.

The selected logs are highlighted with a different color.
- Right-click to open the context-sensitive menu.
- Select
 Merge Logs.
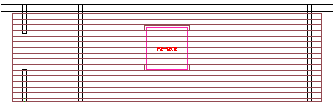
The selected logs are connected. Notches will be left in the logs at the top and bottom of the window, and they will be removed in the next stage of this example.
- Exit the function by pressing Esc.
Remove Notches
- Right-click to open the context-sensitive menu.
- Select
 Delete Notches.
 - Select the notches to be removed using area selection. The program will mark the selected notches with symbols.
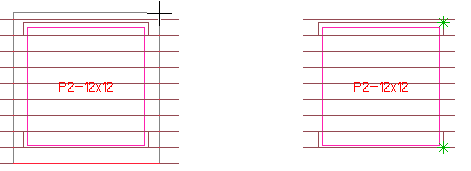
- Select Confirm. The program will remove the notches.
- Exit the function by pressing Esc.
Return to Floor Plan and Model
- Close the elevation of the log wall by clicking the Close button of the window .
- Save the changes by selecting Yes in the message box.
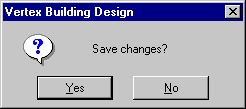
The wall geometry is updated in both the floor plan drawing and the model.
Move a Window in a Floor Plan
- Activate the floor plan drawing.
- Select the window to be moved.
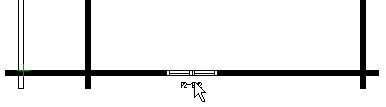
- Select the grip point in the center of the window.
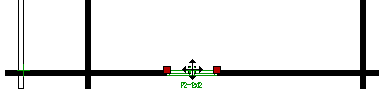
You can move the window on the wall by moving the cursor.
- Click the new location.
Cut the Logs at a Window
- Open the log work drawing.
- Select Log Wall Layout |
 Update.
 - In the dialog box, select the Clip by opening macros and Update machinings check box.
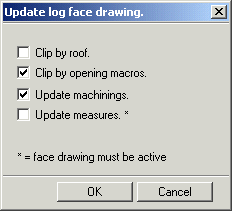
- Confirm by clicking OK.
- Select the machining to be updated. You can select all machinings by clicking All.
- Close and save the log work drawing.