
Twist a Part Data
Advanced Face Modeling Package
General
The dialog box is related to the function
- Part | Deformation |
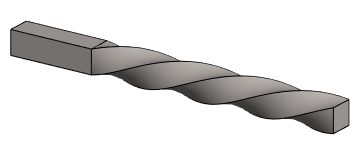
 Twist.
 - Import | Deformation | Twis.
- Twist a Part around the Axis
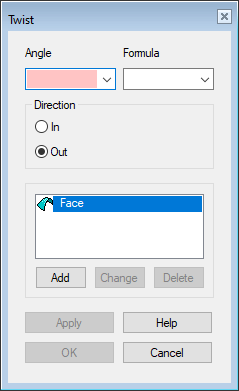
Dialog Box Options
- Angle
- Enter the rotation as an angle value.
- The angle can also be more than 360°.
- For example, if you want 4 full rotations, enter 1440° (= 4*360 °).
- Formula
- Set a variable for the rotation angle if you want to control the rotation using a dimension table.
- In
- Specifies the clockwise direction of rotation.
- Out
- Specifies the counter-clockwise direction of rotation.

- Add
- Add a line, planar surface, or auxiliary plane controlling the rotation to the list.
-
- Select Add.
- Note that the program only uses one line as the rotation axis, so there is no need to add another line to the list.
- Click a line, planar surface or auxiliary plane
- Select Confirm (Confirm = V key, middle mouse button or the context-sensitive function
 OK)
OK)
- Select Add.
- Change
- Replace the selected rotation axis or the planar surface or auxiliary plane limiting the rotation with another corresponding element.
- Select the element to be changed.
- Select Change.
- Click the replacing element.
- Delete
- Remove the element that controls the rotation.
- Apply
- Preview by clicking the Apply button in the dialog box. This will show you how the model would look if you confirmed the feature data by clicking OK.